
I’m a normal person. Normal is a relative term when I use it — FYI. But really, I don’t believe in anything in the kitchen being too fussy or time consuming to make. Lacking in patience and general panache, I believe wholeheartedly in recipes that WORK and are doable to normal humans who have very busy lives and little time.

But, my numero uno motto in the kitchen is IT MUST BE DELICIOUS to be worth my time and anyone else’s calorie consumption. These bagels are absolutely worth time, effort and calories my friends. They are all that AND more.
When I asked my daughter what she missed most by needing to eat gluten-free, she answered quickly and simply, “bagels”. I nodded and thought how much I would miss just a good, chewy deli-style bagel if I were in her shoes. The pre-made store bought GF versions are very cardboard-like and blah. Very blah. And we’ve tried all the packaged versions. They also lack the very thing that makes them bagel-y, a chewiness with that famous crisp outer “shell” if done perfectly right. You know, the old boiled and then hearth baked technique that makes them REAL deli-style bagels.
Aye, though, here’s the rub…you must use Annalise Roberts’ Gluten Free Basics cookbook Basic Bread Recipe for the flour mixture to make them. Does that make them fussy? Maybe. But, if you are like me, and keep this mix of flour in a large, plastic Tupperware container at the ready, then it is very doable. So, plan ahead, order the flours from Amazon or go to your local health food style market and have the flours ready. On another day, make the flour mix and store it for a weekend ahead when you MUST. HAVE. BAGELS. And then you will be oh so happy and won’t call me a liar. Nobody likes that, especially me.

When these bagels come out of the oven warm and toasty and you cut one in half, still steaming and slather on the FULL FAT cream cheese—because you’re feeling a flutter in your heart and need the whole cheap thrill— take a bite and nod. You will be nodding in agreement with me on just how right I was to tell you that these bagels are the real deal and totally worth the effort. P.S. I’m usually right…just ask my kids and dog. I was wrong once in 1991, but that’s a long story my friends.
Oh, and please, please if you are GF or need to bake for someone who is, BUY THIS COOKBOOK — Gluten Free Baking Classics. It saved my life about five years ago when I was fretting over how to make life tasty and semi-normal for my newly gluten free kiddo. There has never, ever been a recipe I wasn’t totally thrilled with, and I’m not easily impressed when it comes to GF baked goods. It also has such a wide range of recipes from breads in all varieties to crepes and specialties like Popovers and Black and White cookies.
Gluten Free Bagels
Gluten Free Bagels – From Annalise Roberts’ Gluten Free Baking Classics
Makes 8 medium-sized bagels
Prep Time for dough = 25 minutes
Rising Time for dough = 1.5 hours
Boiling and Baking time combined = 35ish minutes
Ingredients
1 large egg (room temperature)
2 tablespoons Canola Oil
2/3 cup plus 2 tablespoons warm water (110 degrees F)
1 tablespoon active dry yeast, not fast acting (make sure it’s fresh so bagels rise properly)
2 3/4 cup + 2 tablespoons of Bread Flour Mix (see below for recipe and please spoon your flour mix into your measuring cup, never pack GF flour)
2 tablespoons sweet rice flour* (click link if you are not sure what this is; THIS IS IMPORTANT and not to be confused with other rice flours, and creates the chewiness in these bagels)
2 tablespoons granulated sugar
2 teaspoons Xanthan gum
3/4 teaspoon salt
Rice Flour (about 1/4 cup for flouring the pastry board)
8 cups water (for boiling bagels)
1 tablespoon granulated sugar
1 egg
1 teaspoon water
Toppings such as garlic, poppy seeds, sesame seeds, chopped and cooked onion, etc…use your imagination and the bagel counter offerings. 🙂
To make the bagels: Line a baking sheet with parchment paper and spray with nonstick cooking spray. Heat your oven to 250 degrees Fahrenheit. At this point the oven is just used as a warm rising space for the dough when ready.
In a small bowl, beat egg and Canola oil together and set aside. In a liquid measuring cup filled with 2/3 cup + 2 tablespoons warm water (110 degrees F) add your yeast, stir and let sit.
In the bowl of a stand mixer fitted with the dough hook (or in a large bowl fitted with nothing, nada but keeping your strong hands at the ready), mix all dry ingredients together from Bread Flour Mix through salt.
Add the egg and oil mixture to the dry ingredients and mix until well blended. Then add the warm water and yeast mixture and mix until blended. Scrape down the sides of the bowl. Beat on high speed for 3 minutes or knead vigorously on a rice floured pastry board for 3 minutes.
To shape your dough: Before shaping your dough, turn off your oven. You just will be using your oven to rise your bagels, not bake them at this point.
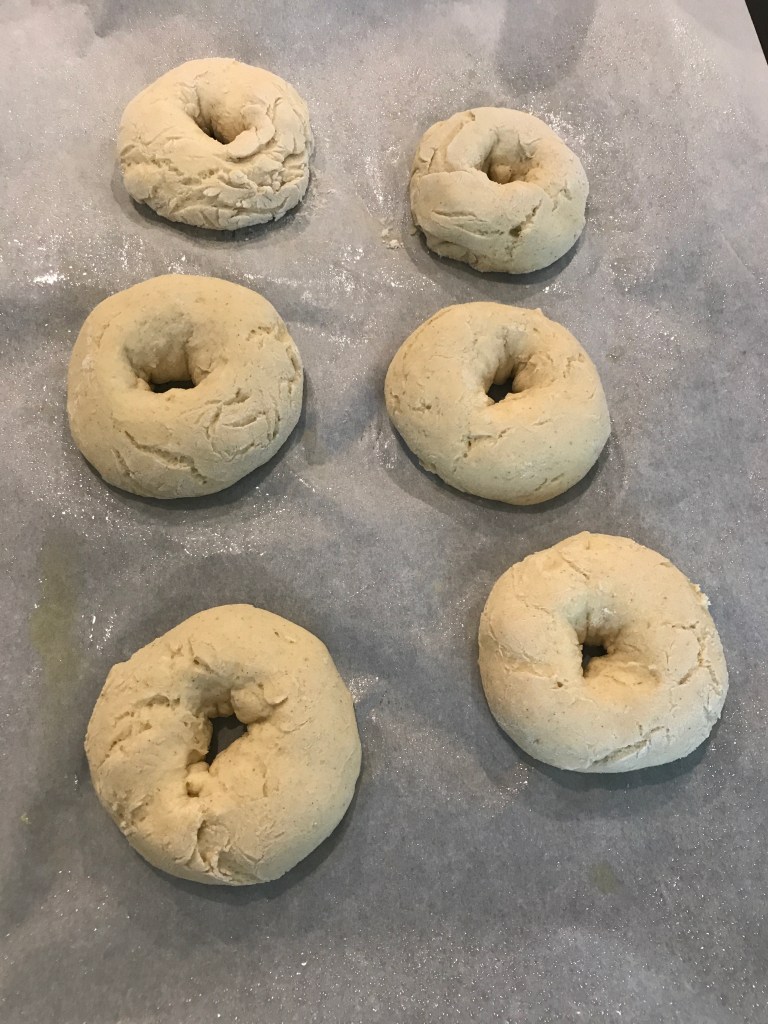
Sprinkle your pastry board with ample amounts of rice flour. Flour your hands as well. Form the dough into a disc and cut in half. Take each half of the dough, shape each into a disc and cut each disc into four equal parts. Roll each part into a ball between your hands, flouring your hands liberally in between each one so the dough doesn’t stick to your hands. Sometimes I even spray my hands with nonstick cooking spray at the beginning of the shaping process and flour as I go. Poke your index finger in the center of the ball of dough to make a small hole. I would pick up the little ball of dough at this point and gently make the hole larger, about two fingers length or 1+ inch in diameter. The bagels should be about 3/4 inch thick.
Place each bagel onto your prepared baking sheet. Cover with a clean kitchen towel. Place the baking sheet in the warmed but OFF oven for 1.5 hours. If your kitchen is fairly warm, or you have a warming shelf or warm window shelf, you can place your baking sheet there. The bagels should double in size when they are done rising. Honestly, mine only increased by about 1.5, but I determined they were done rising and began the next process.
During the last 10 minutes of rising time, put your 8 cups of water in a large pot and add the tablespoon of granulated sugar and turn on high until boiling. After you have taken your bagels out of the oven from rising, turn it on to 425 degrees F to preheat. Have the middle rack ready for use later.
Once the water is at a rolling boil, use a spatula to carefully place two bagels in the water and boil for two minutes and then flip and boil another two minutes on the other side. WARNING, they are slippery suckers when wet so carefully move them to the baking sheet. One of mine shot out of my hand like a cannon and propelled itself across my stove and under a burner! 😛 Gently remove the bagels and place on paper towels to drain. Pat dry with a paper towel if needed.
Beat one egg and one teaspoon of water together in a small bowl. Brush boiled bagels with the egg wash. Sprinkle on toppings now and gently press them in slightly. Bake in the center of the preheated oven for 10 minutes and then reduce the temperature to 400 and bake another 15 minutes until bagels look golden and are slightly firm to the touch. Let cool on a rack. Make sure to serve warm and slather with appropriate schmear. 🙂 Enjoy!
Bread Flour Mix
To make 3 cups of flour for the recipe above (you will only use 2 3/4 cup + 2 Tablespoons for bagels) … Note the 1 to .5 ratio of millet (1) to all of the other flours/starch (.5). SO if you want to make 6 cups of the flour so you can store some for another bagel adventure, just double everything and voila, six cups.
1 cup millet flour
1/2 cup sorghum flour
1/2 cup cornstarch (use non gmo)
1/2 cup potato STARCH (not potato flour)
1/2 cup tapioca flour
Whisk all of the “flours” together in a large air-tight mixing bowl. Store with fitted lid until ready to use. It’s always a good idea to aerate flour mixture when ready to use. Just give it a good shake, shake shake before taking the lid off. Those who grew up in the 80’s, do you remember the “shake shake shake…shake your tuna” commercial and jingle? Just checking to see if anyone is still reading at this point. Ha!
P.S. Never scoop and pack GF flours. No! I mean it.
